 |
| Gave these away to a friend...need to make more! |
ok, so I'm in love with Pura Vida Bracelets, but I'm not in love with the price tag. Especially when I can make these for less.
 |
| First one I made, using waxed linen. |
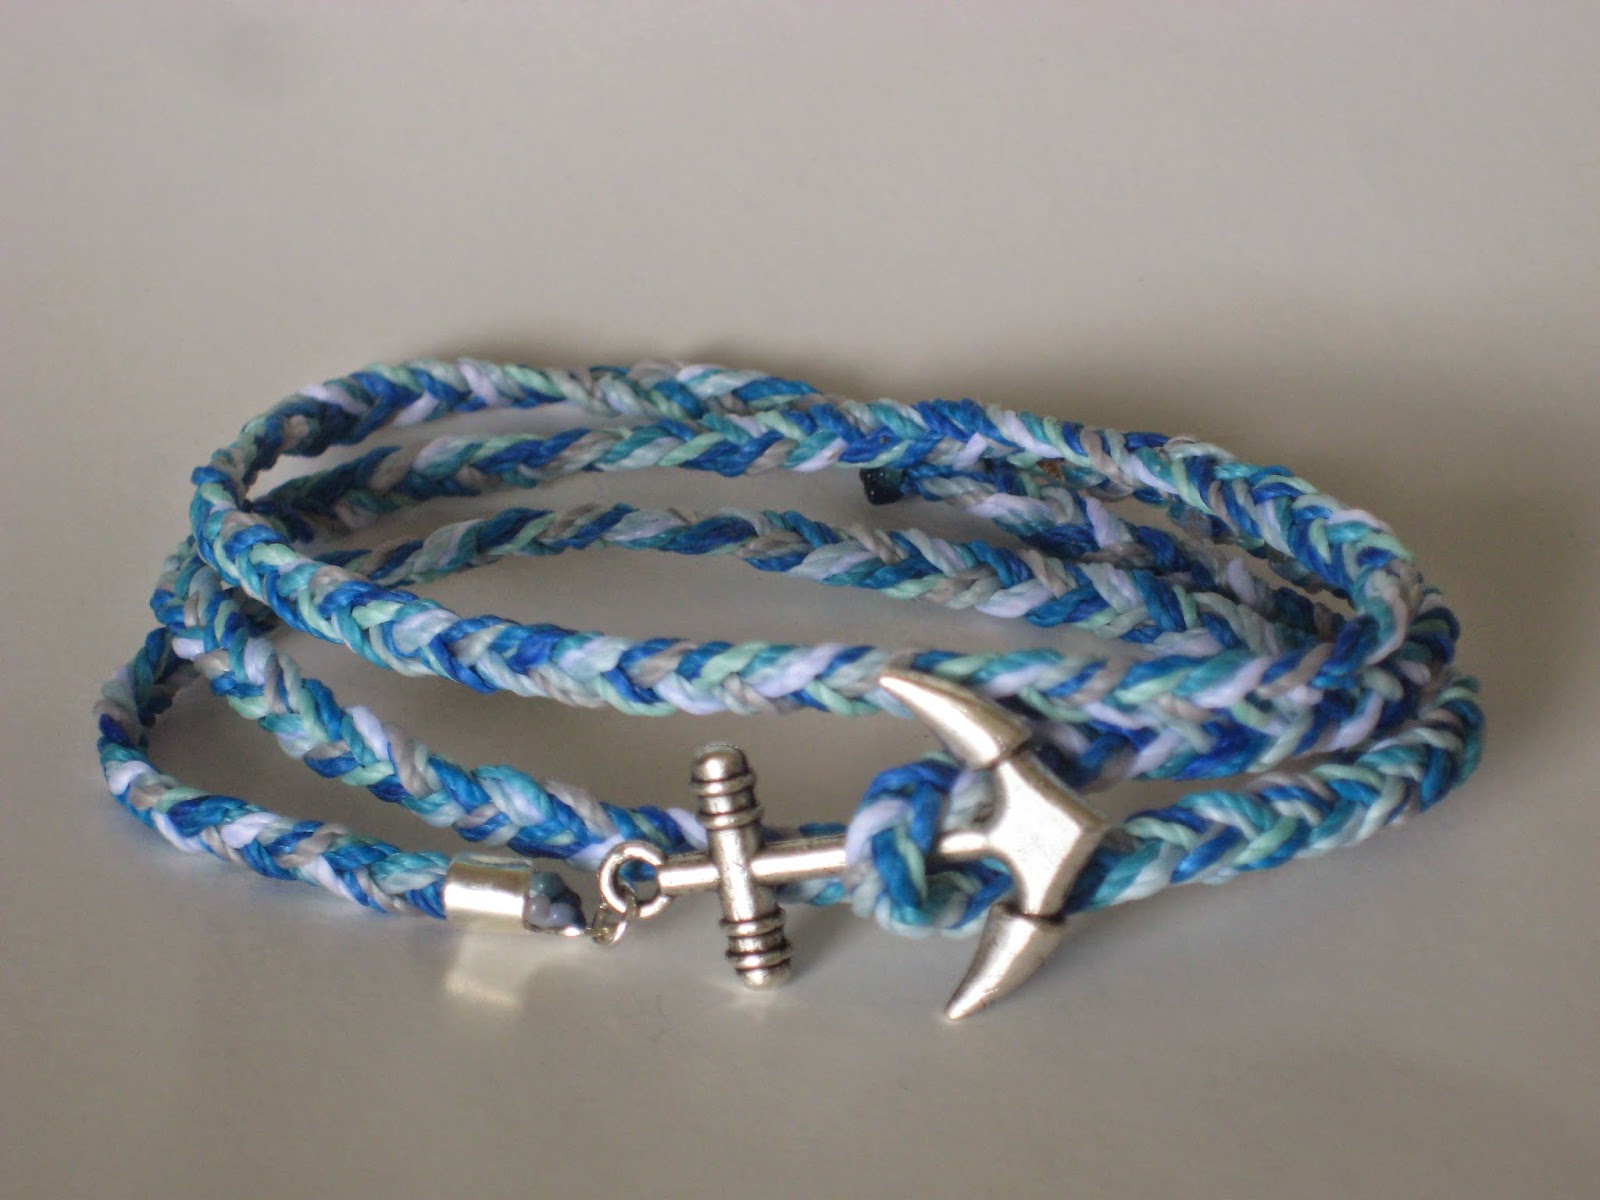
The first couple I made, I used waxed linen. It's nice, but it's stretches (a lot) over time, and I've heard it fades when it gets wet. I like wearing my bracelets in the shower, at the pool and the beach, so waxed linen was not going to work for that!
 |
| also waxed linen. |
Since I cut the very first one a little on the short side, it worked out that the waxed linen stretches! The bracelet was a little more snug than I wanted, but after a week or so it fit perfect! I've been wearing my waxed linen anchor wrap (in blue) for a couple of months now, and have not noticed any fading, but I have been avoiding the water so...
Pura Vida uses a waxed Polyester cord that's around 1mm thick. Polyester cord burns beautifully, giving very seamless finish. It is also durable, fade resistant and waterproof!

You can find it all over etsy. I got mine from Acai Beads, who sells it in 25 foot packs for $2 each. They also sell it by the 600 foot spool on their website (acaibeads.com). They shipped fast and for a flat rate. I'm definitely going back!

Polyester cord comes in LOTS of colors, and Acai Beads has 46 to choose from! I had a hard time deciding...I really wanted to get them all.

Of course, I didn't have enough charms either! Really though, I was IN LOVE with the Pura Vida anchor wrap bracelet, and the only anchors I had were WAAY too small...so if I was going to place an etsy order, I may as well get more than I need, right?!


I LOVE these colors! I was tempted to get every shade of blue offered.

I ran out of clasps and had to head over to Michaels to pick up a 10-pack. Boy was I disappointed. Of the 10, 2 were broken upon opening the package. Another 2 broke while trying to attach them. Waste of money. From now on, I'll stick to Fire Mountain Gems!

If I feel up to it, I'll do a little tutorial with cut lengths for the above bracelets. Stay tuned!

I absolutely love them! I too love Pura Vida but not the pricetag. I love the charms you used, I actually think they look better than some of the Pura Vida ones! I have purchased the polyester cord through Acai beads, but I was wondering... On the strand bracelets (like the final image in this blog post) how do you do the ties? They look like two strands of the cord twisted, but I can't seem to make them stay put if I twist them (even though we are using the same cord). Is there a trick, or did you buy a different sort of cord for the closures? You gained yourself a new blog follower! Cheers! :)
ReplyDeleteI am just another reader of this blog but I happened to see your question.. since the cord is waxed, you can use a lighter and it melts the wax to secure your knot :)
Deleteyou are right, it is two strands. to get them to stay, you'll twist one strand along the grain (just twist in the same direction it's already twisted), hold it in one hand, then twist the other one. When you let them go, they try to untwist, but in doing so they twist together. The tighter you twist each individual strand, the tighter the resulting double twist. I hope it makes sense. Try it out a couple times, and you'll get the hang of it!!
DeleteLove all of these bracelets! I especially love the ones with the ship wheel thing (i feel like there's a name for this but its completely evading me)! I have just made some anchor wrap ones and was looking for some inspiration for others and these are great! :)
ReplyDeleteLauren | http://www.livelovelauren.com
For the last bracelet posted with the multiple strands...did you just cut them all the same length, burn them together and then add 2 box knots where the burned knot was to secure it?
ReplyDeleteThe multi-colored stands were sort of cut the same length. Start with one side all even and melt them together. Then slightly twist and bend to the shape of the bracelet then melt the other side. You can always use some CLEAN pliers to squish the melted ends together if they seperate. I didn't use box knots to finish the "closure" -- just an overhand knot. Once the ends are twisted and sealed, everything was pretty secure...
DeleteCan you do a tutorial on the knots for the sliding closures?
ReplyDeleteI love these bracelets! It would be so great to get a tutorial on how to make them. I especially like the last picture with the multi-colored strands. Thread lengths, directions for the slip knot closure, etc. would be great to see. I'm going to attempt making some this weekend.
ReplyDelete